High Contrast Half-toning

1. Shoot Normally
2. Develop Film Normally
3. Expose the Halftone Positive:
Using screen-printing screen, or a premade halftone film. Sandwich under glass and pay attention to dust! My preference is to under-expose here to get a black and white image with half-toning only visible on the midtones.
4. Develop Halftone Positive:
Special developer gives the desired contrast, though regular paper developer does work in a pinch. Otherwise normal darkroom processing
5. Expose the Halftone Negative:
Paint out any dust spots on the positive first. Again, watch for dust here. Looking essentially for a negative with pure white and pure black, nothing else.
6. Develop the Halftone Negative:
Same process as litho positive, to get the proper contrast on the negative its more important to use the special litho developer.
7. Print Normally:
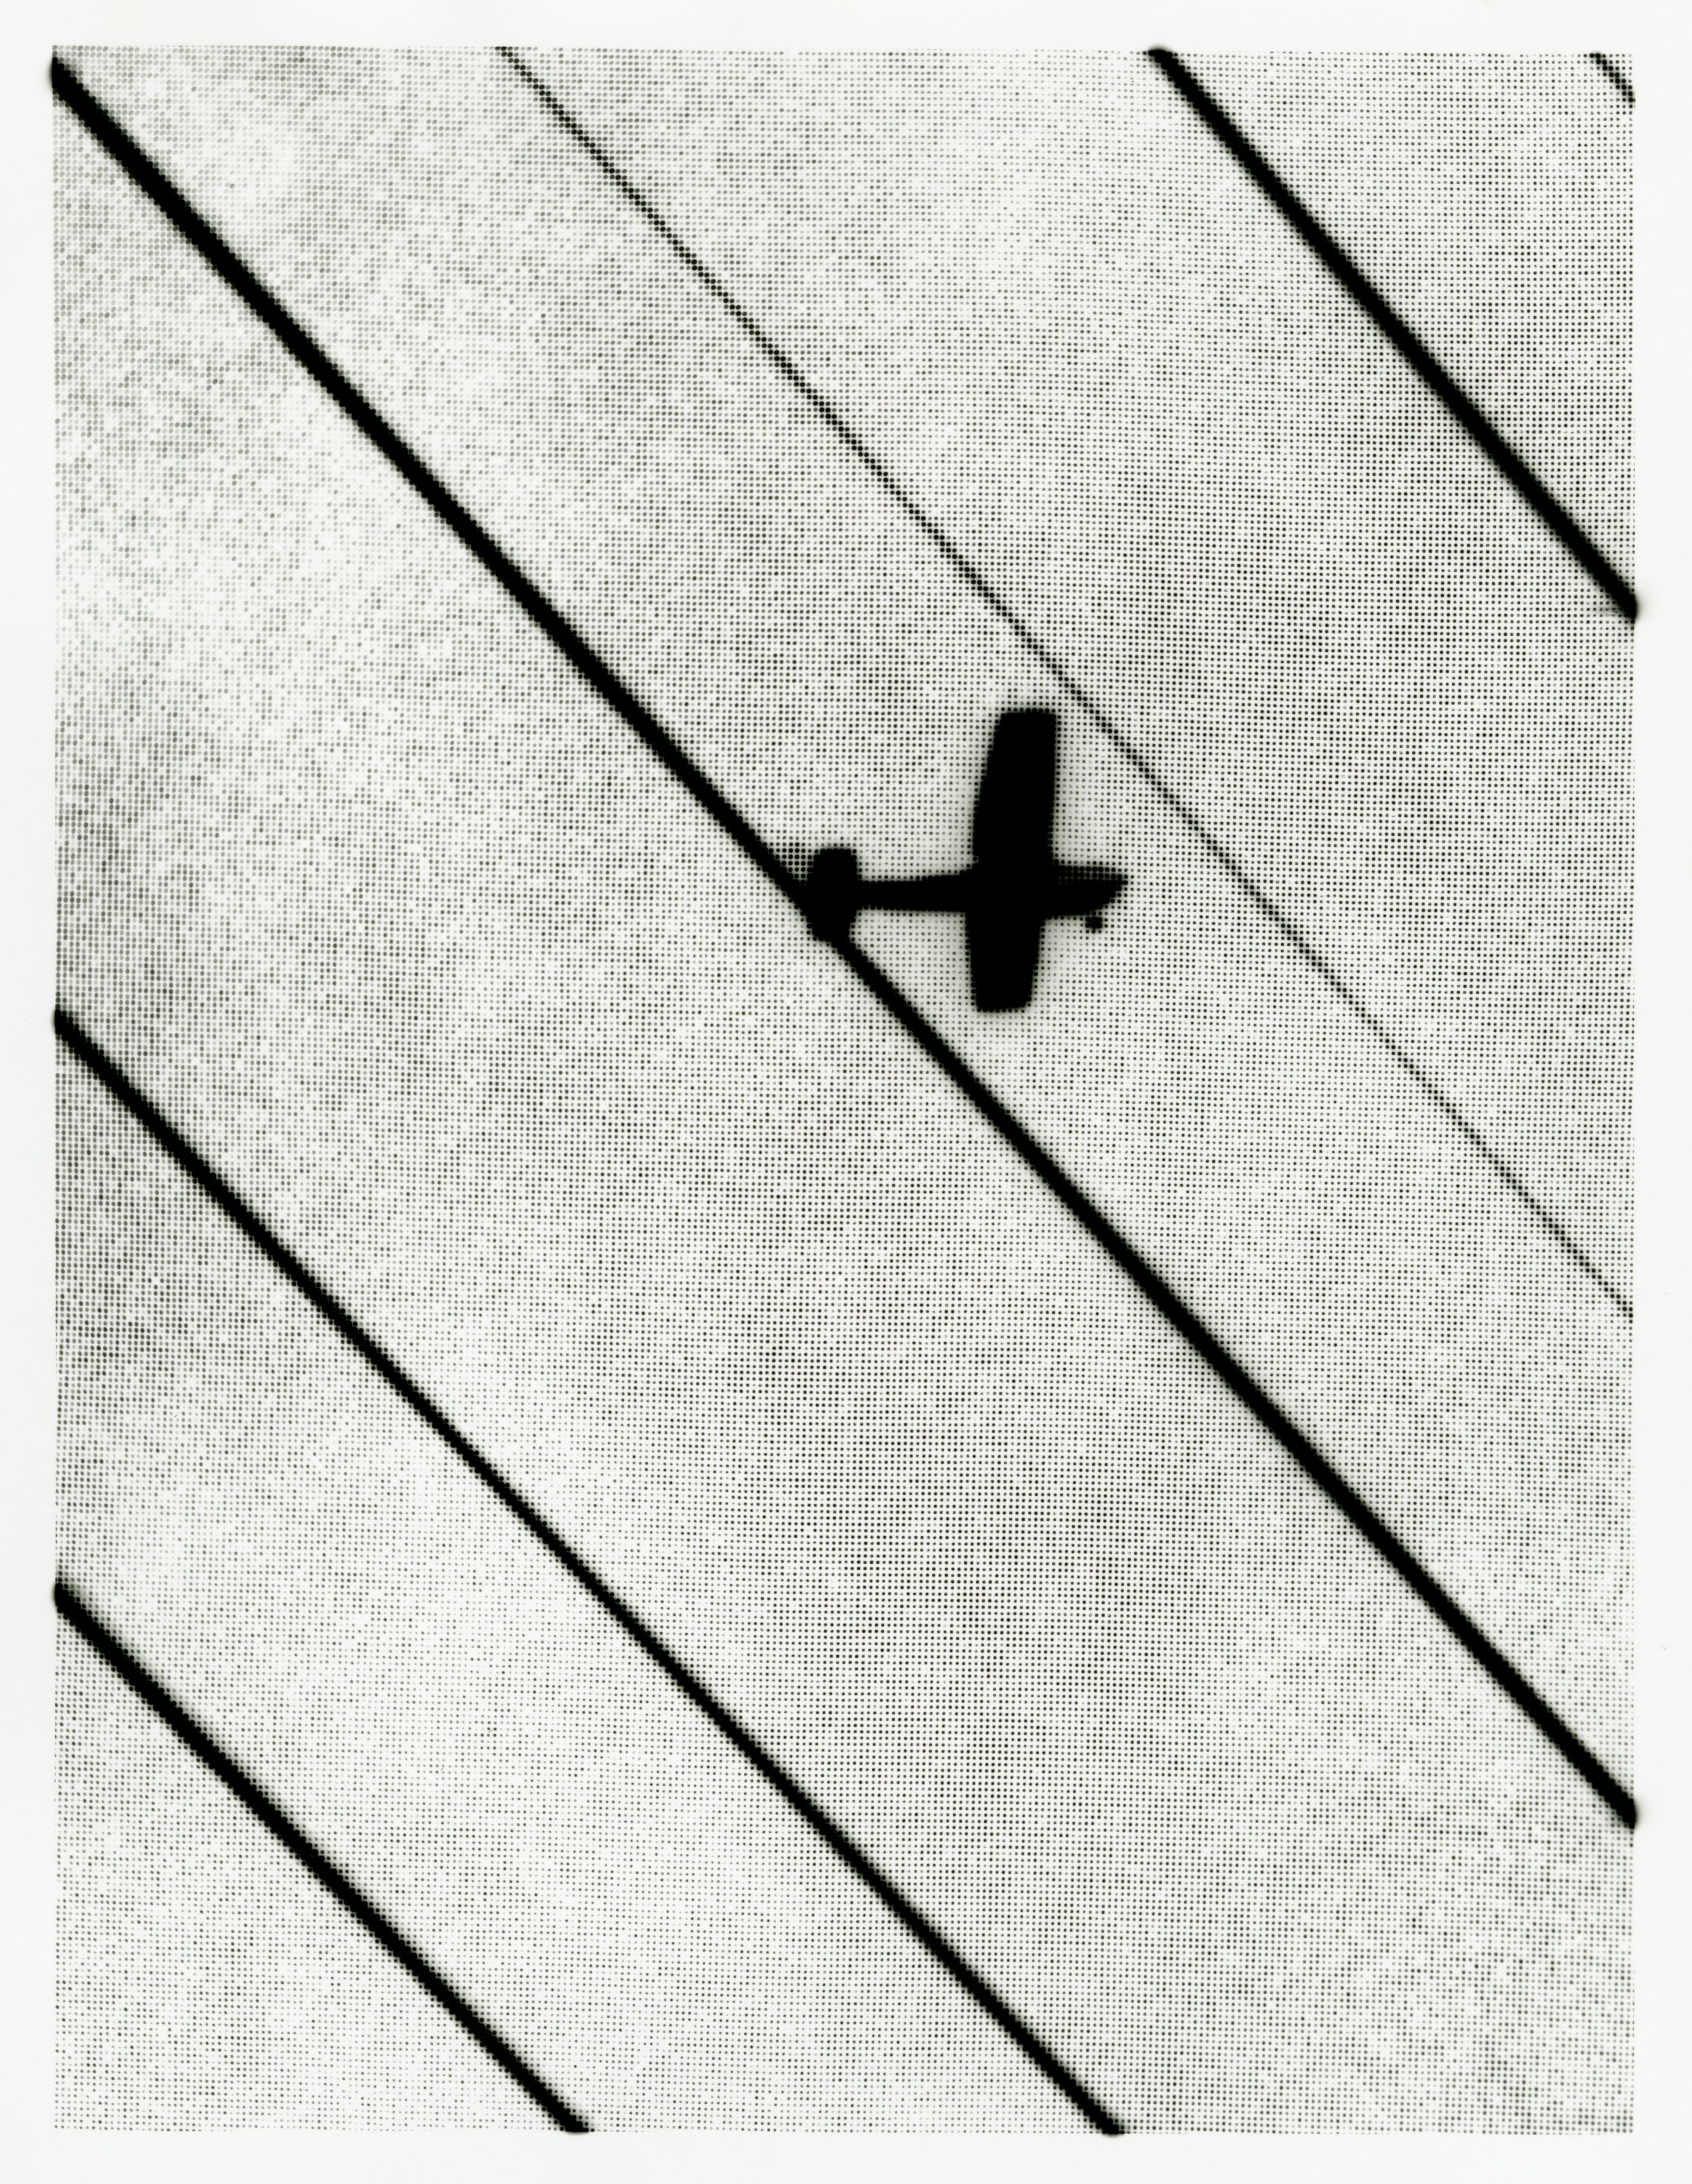
Use your halftone negative however you like!